Please read all instructions before proceeding.
This section of the tutorial contains information on how to build the eyes, head and neck.


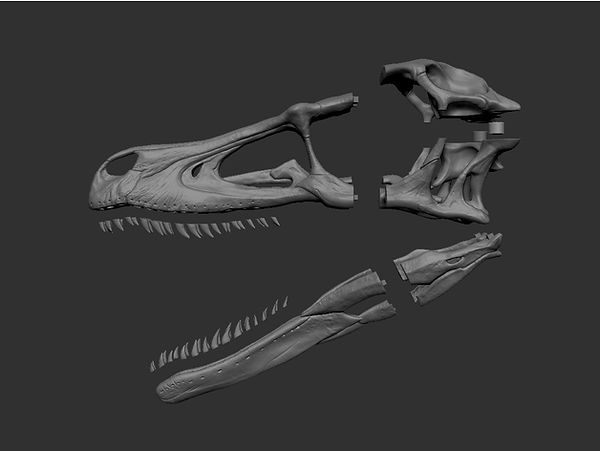


If you look a the jaw you will see 2 bolts. Those are 2 toggle bolts and they go all the way through the slots in the jaw. They are there because they hold the jaw pusher. So when the linear actuator rod goes down it pushes the the jaw pusher down, which in turn pushes the bolts down, which allows the jaw to move down. So those 2 toggle bolts are very important. (Refer to the jaw movement test video I posted on YouTube if you have to)


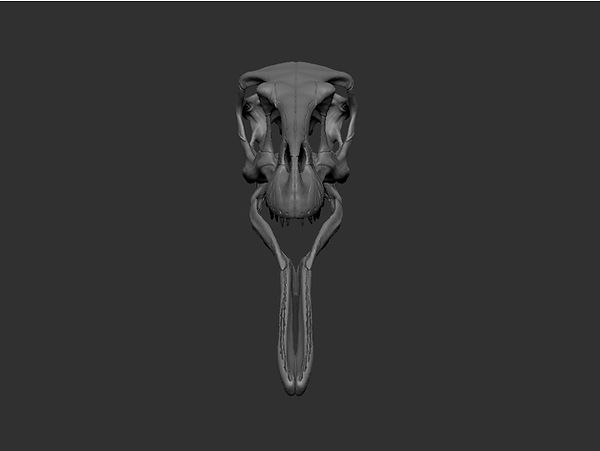
Insert the bike chain through the neck hole. Make sure the bike chain is in the orientation shown in the picture. (We want the bike chain to move side to side not up and down. As a result, this will make the neck move side to side but NOT up and down. The purpose of the bike chain is to HOLD the neck up, that way the head does not drop down and fall to the floor. This step is very IMPORTANT)!
Now add a bolt through the end of the chain so it doesn't slide out of the hole. Then secure it in place with high temperature hot glue. Make sure the glue flows into the neck hole that way the bike chain is fully secured and won't move.

For the rest of the Neck pieces you will need to slide them onto the bike chain and secure them with hot glue (Exactly as we did before with the first neck piece). Make sure to SPACE OUT the neck pieces ensuring they have enough room to move side to side.


Once you have secured the neck pieces and bike chain feed the aircraft cable through the holes on the side of the neck pieces. Please visit the tail tutorial for more information on how to insert the cable.